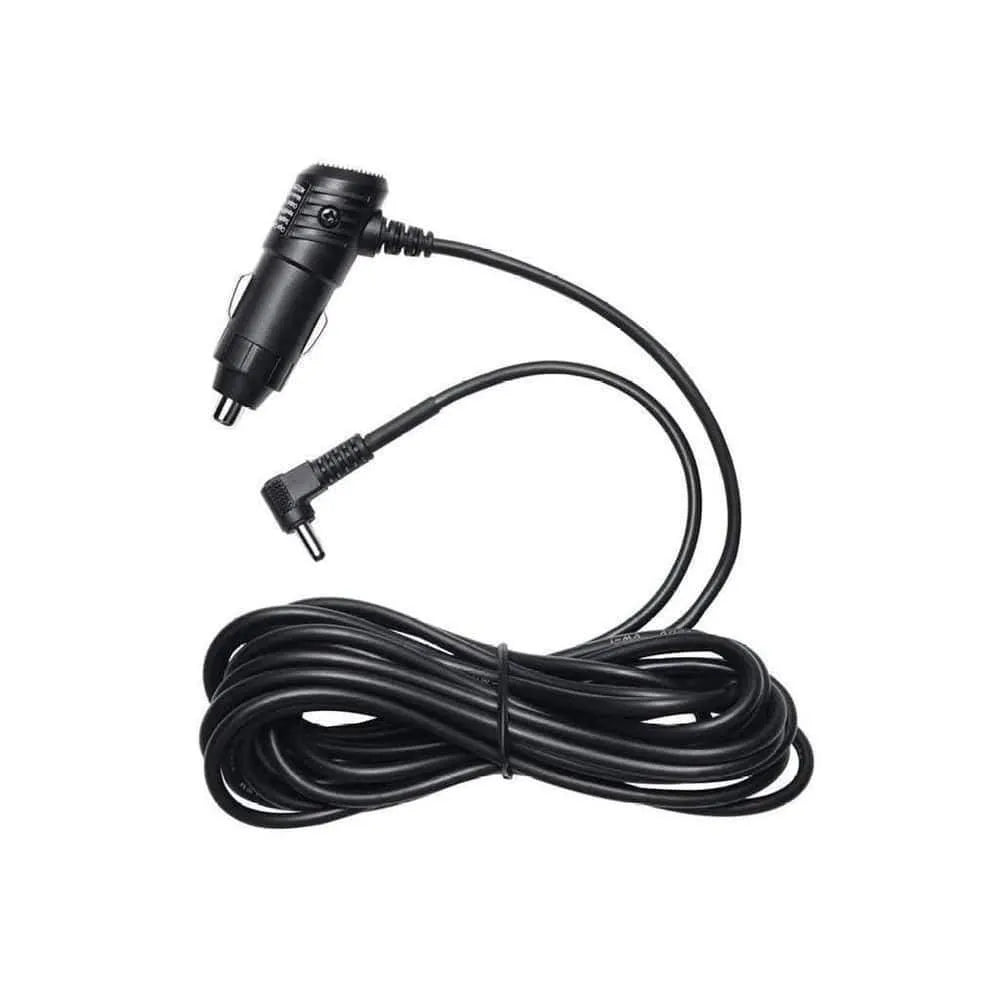
A plug-and-play solution for dash cam installation with CLA
Installing with a Cigarette lighter Adapter (CLA)
Easiest way to install your dash cam
If you want to get your new dash cam up and running in seconds, the simplest way to is through a 12V cigarette lighter installation. It's a straightforward, plug-and-play option which only requires you to plug the 12V power cable to your car’s cigarette lighter USB port or socket. Here we’ll elaborate on when, why, and how you can install a dash cam via a Cigarette Lighter Adapter.
When to Install a Dash Cam via CLA
If you want to get your new dash cam up and running in seconds, the simplest way to is through a 12V cigarette lighter installation. It's a straightforward, plug-and-play option which only requires you to plug the 12V power cable to your car’s cigarette lighter USB port or socket. Here we’ll elaborate on when, why, and how you can install a dash cam via a Cigarette Lighter Adapter.
Installing a dash cam via CLA is usually recommended for 1-channel dash cams that only need to record while driving. If you're installing a 2-channel dash cam, you'll need to add a rear connecting cable to link your rear camera to the front. Check out our rear cable installation process here.
The good thing about this method is there’s no need for complex wiring or technical expertise. If you're leasing your vehicle or don't want to make permanent modifications, this method enables the dash cam to be easily removed without leaving any marks.
What You'll Need

BlackVue 12 Volt Cigarette Lighter Power Cable

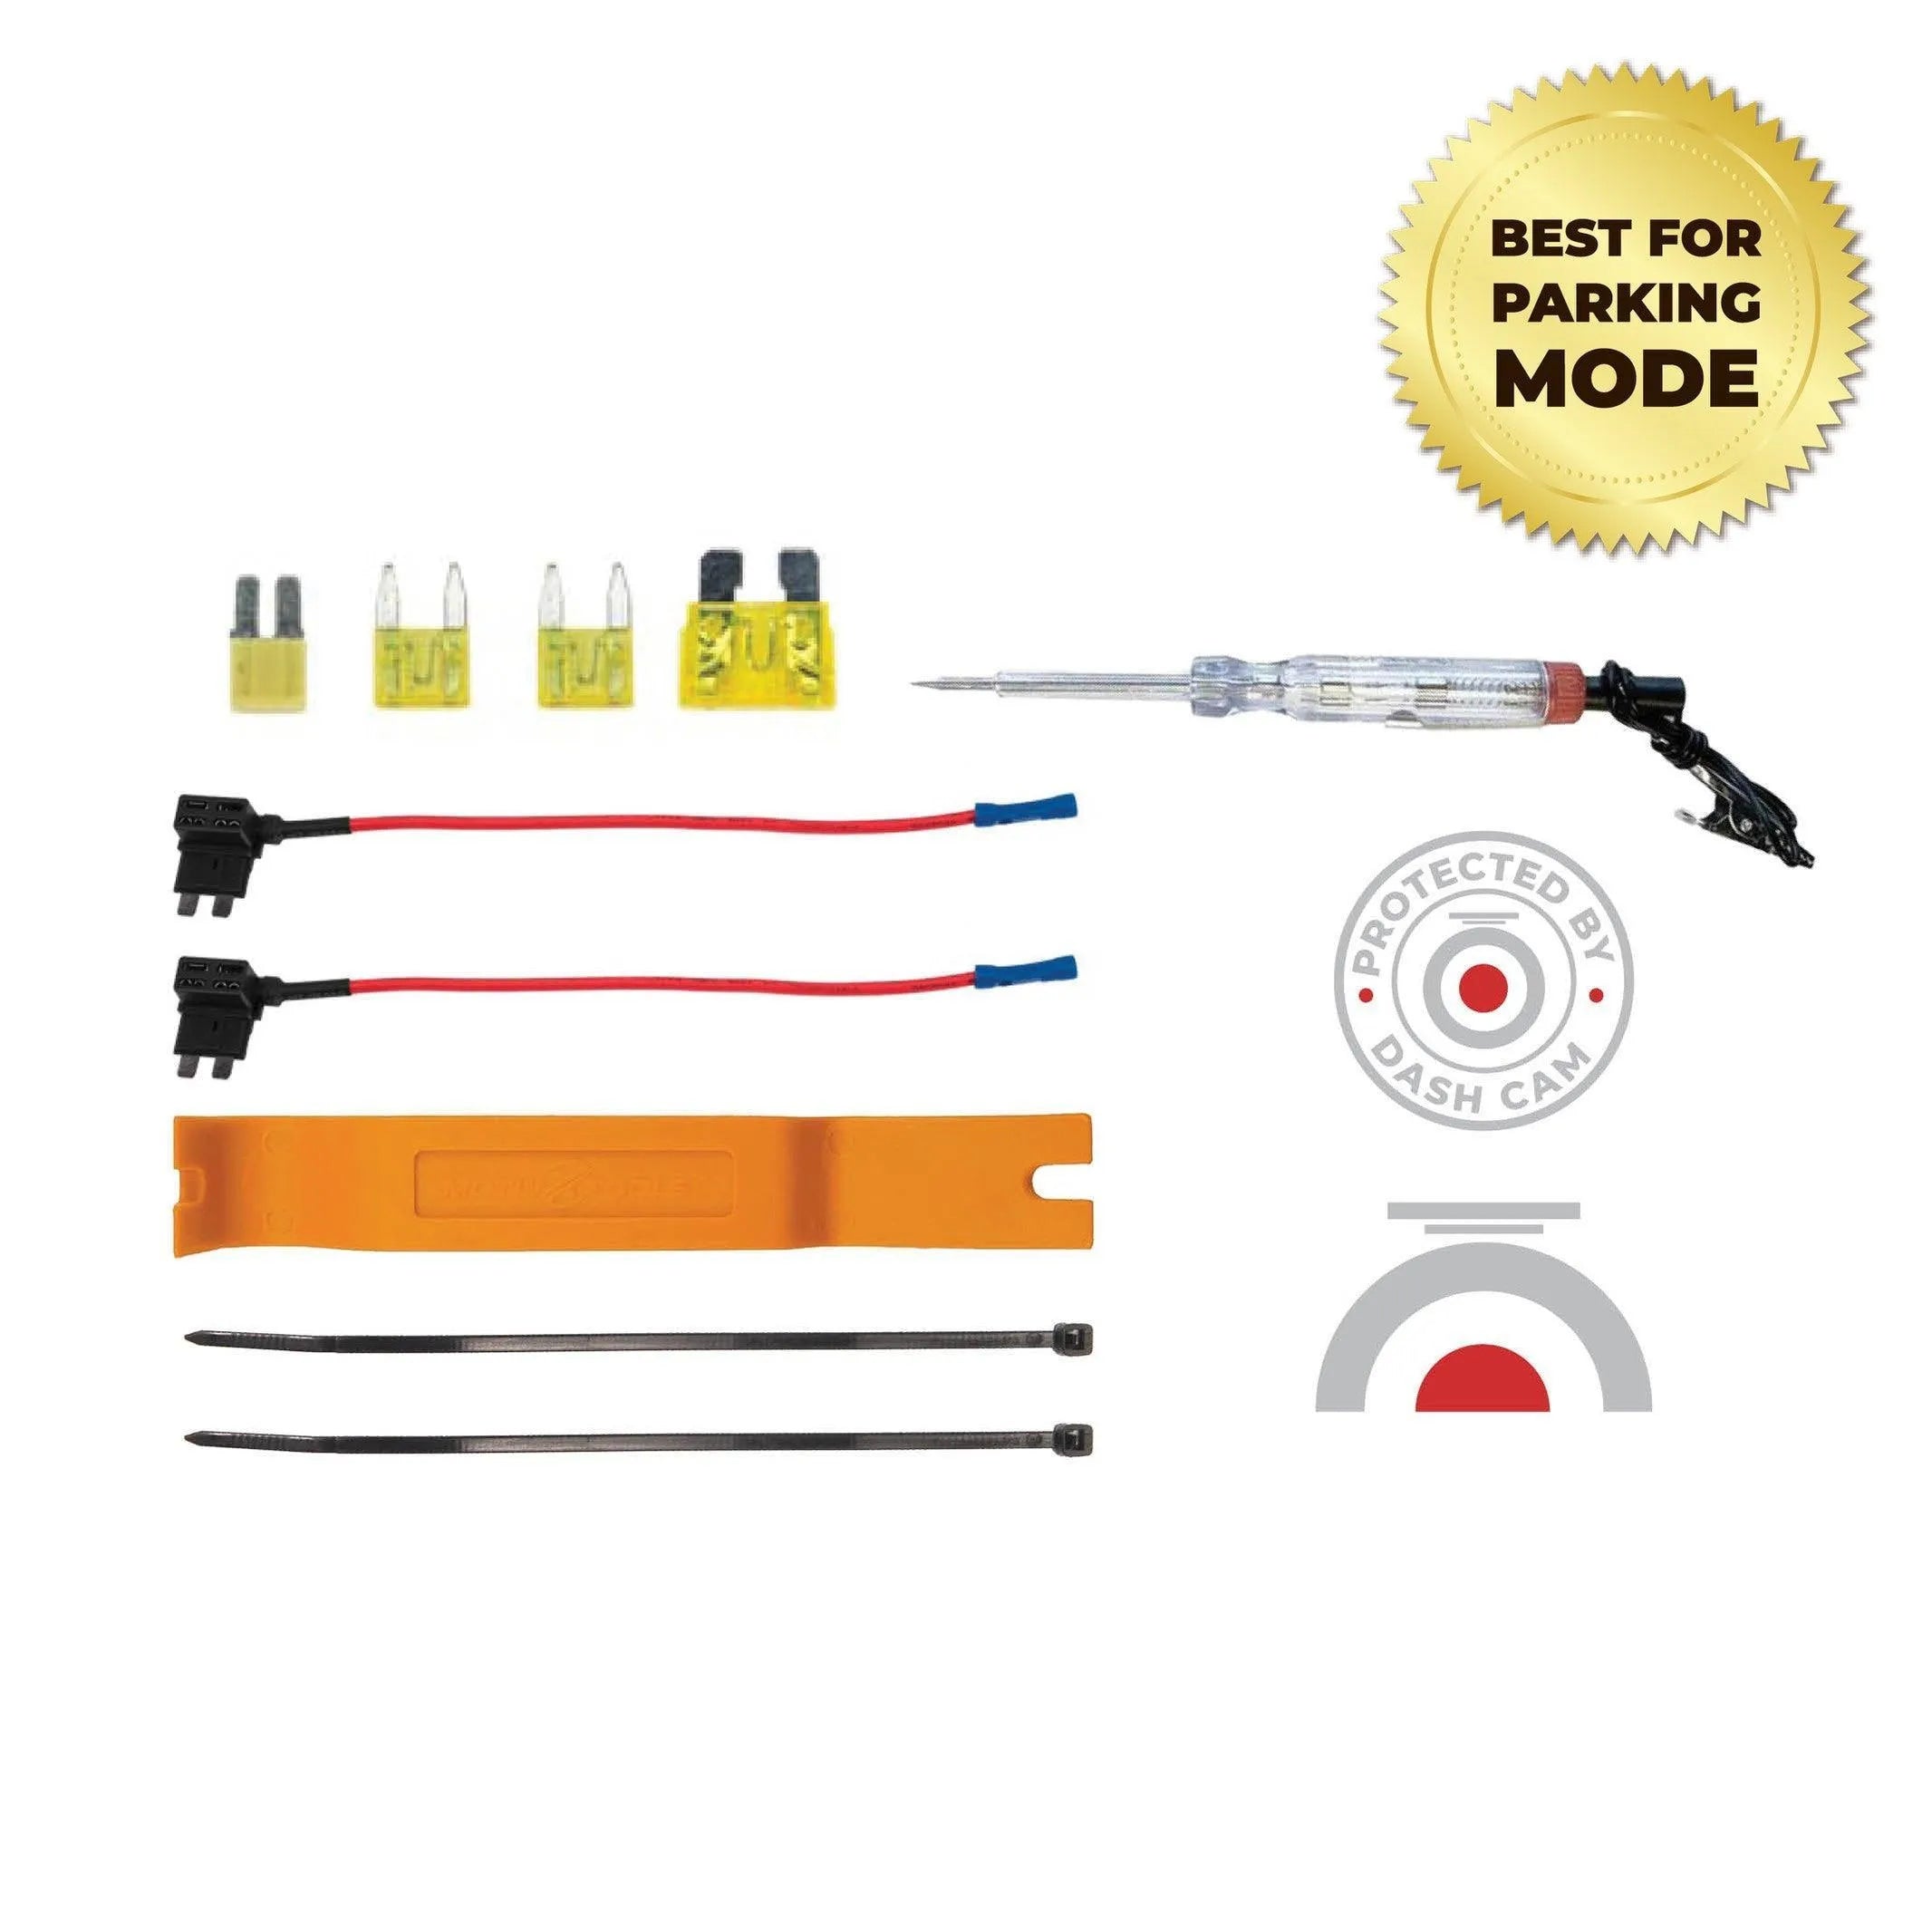
Essential BlackboxMyCar Install Package

BlackboxMyCar Microfibre Towel
Glass Cleaners
3 Steps to Install a Dash Cam via Cigarette Lighter Adapter:
1. Mount the Dash Cam
The first step is to find a suitable spot for your dash cam. Position your dash cam as center as possible to ensure it covers both the left and right sides of your vehicle. You can use the dash cam’s screen or the live view feature on the smartphone app to check if you’re covering the angles right.
Once you’ve found the perfect spot, remove the mounting tape and attach the dash. Press it for over 10 seconds to make sure that it’s secure. To keep the dash cam discreet and less distracting for the driver, we recommend you mount it with the body hidden behind your car’s rearview mirror.
2. Connect the Cable.
The 12V cable that comes with the dash cam should then be connected to the dash cam and the car's USB outlet or 12V cigarette socket. The socket can be found inside your armrest compartment, on the centre console, or on either the driver or passenger side. Depending on where it is, you should be able to determine how your wires will be routed to minimize cable obstruction. We want it to look as neat as possible.
3. Route the Wires
In the next step, we'll route our cables into the frame of your car so you can hide them. Using a trim tool or a credit card, we’ll hide the wire along the headliner, then the car’s A to B pillars. The headliner should frequently be able to gently pull it down from the edges. Just be cautious and patient to avoid damaging anything. After you finish your work, you'll back the headliner up by reversing the steps you took to remove it. It might sound a bit tricky, but with the right tools and some care, it can be done!
What are these pillars?
Pillars are the vertical supports on a car that are lettered from A to D – from front to rear. The frontmost pillar, for example, is the A-pillar, which frequently keeps the windshield in place. The B-pillar is positioned behind the A-pillar and divides the front and back seats. The passenger compartment behind the rear seats is referred to as the C-pillar. Lastly, D-pillars are typical in larger vehicles like trucks and vans.
Now, route your power cable inside the top headliner in the direction of the power source, either to the left or right. Continue through the headliner and with a trim tool, pry open the A-Pillar covering and tuck the cable inside the crevice of the A-Pillar.
Next, route the cable down the A-pillar by hiding the cable inside the rubber weather strip. Again, use a trim tool to help tuck the cable in. Continue routing the cable through the underside of your dashboard and plug the cable into your power source to finish.
Pro tip: If your cable is loose and does not stay in place inside the headliner, you can use adhesive cable clips to secure it.
Things to remember:
Most Cigarette lighter sockets in modern vehicles often turn off when the engine is turned off. This is rather easy to test, as items connected should stop charging once the vehicle turns off. Some earlier vehicles, on the other hand, feature always-on lighter sockets, regardless of whether the engines are turned on or off. The Cigarette Lighter Socket should not supply over 20A, to prevent overloading the dash cam, which will realistically only draw 1-2A of power.
If your vehicle has an always-on cigarette socket...
If this is the case for you, you may think you won't need to hardwire your camera to take advantage of parking mode. While this may work in some specific cases, we recommend against this due to two main issues:
Issue #1: Lack of Voltage Detection / Cut-off
Many always-on cigarette sockets are not sophisticated enough to detect the voltage and switch themselves off should the car's battery drop too low. With most passenger vehicles, a 2-channel dash cam can drain a vehicle's battery from 12.6V to 12.0V in 12 hours or less.
When the vehicle's battery drops below 12.0V, it may have issues or hesitation upon start-up and causes extensive wear and tear on the battery due to deep-cycling. This means that on most vehicles, if they're parked overnight, the battery can drain to a point that is hard on the car and battery, with the possibility of fully draining the vehicle’s battery, if too much time passes.
The user can bypass this by unplugging the camera when the vehicle is parked overnight, but this can be a hassle on the driver's part to perform on a daily basis. If the driver forgets, they run the risk of needing to jump-start the car in the morning. With dedicated hardwire kits on parking mode dash cams, voltage cutoffs can be set to protect your battery from extensive this.
Issue #2: Lack of Ignition-Switched Power Feed
If the car is switched off and the cigarette socket stays on, the camera will still assume the car is running. In contrast, cameras that use direct hardwire kits have cables with three wires so the camera can be powered while the car is off but also lets the camera know when the engine switches on and off. This is required to activate parking mode on many parking mode-capable dash cams, otherwise they can only record in continuous mode.
Due to both of these issues, wiring to an always-on cigarette socket is not recommended. Still, if adamant, some cameras (such as BlackVue) are able to go into parking mode based off of the detecting that the vehicle is idle with its G-Sensor after 5 minutes, and has the option to engage a timer-based cut-off, bypassing voltage cut-off. Such a setup is still not recommended, as the camera will never have reference of the vehicle battery’s voltage, and if there is pre-existing stress on the vehicle before being turned off, would allow the camera to draw power to an unsafe level.
If you were to cut open a dash cam's cigarette power adapter, it would have two wires inside, a positive and a negative. Because of this, the camera only knows whether it's receiving power or not and can't distinguish when the car is switched off.
Our Recommendation
Looking to keep your dash cam running 24/7 for maximum coverage and protection? If you would still like to use a CLA with parking mode, you can install it using a CLA with a battery pack.
A dash cam battery pack is a recommended accessory that helps dash cams with parking mode, even without the process of hardwiring. Aside from extending parking modes, a dash cam battery pack also provides greater recording duration, eliminating wear-and-tear on the car’s battery.
Also a plug-and-play solution, a dash cam battery pack allows a simple connection to the vehicle’s 12V cigarette socket with a cigarette lighter adapter (CLA), still achieving parking-mode recording.
For BlackVue dash cameras, we recommend you a BlackVue B-130X Ultra Magic Battery Pack. If you have a non-BlackVue dash cam (actually, this would also work for BlackVues), our best pick is the BlackboxMyCar PowerCell 8. Learn more about these battery packs here.


