Skip to content

Thinkware U1000 WiFi App Guide

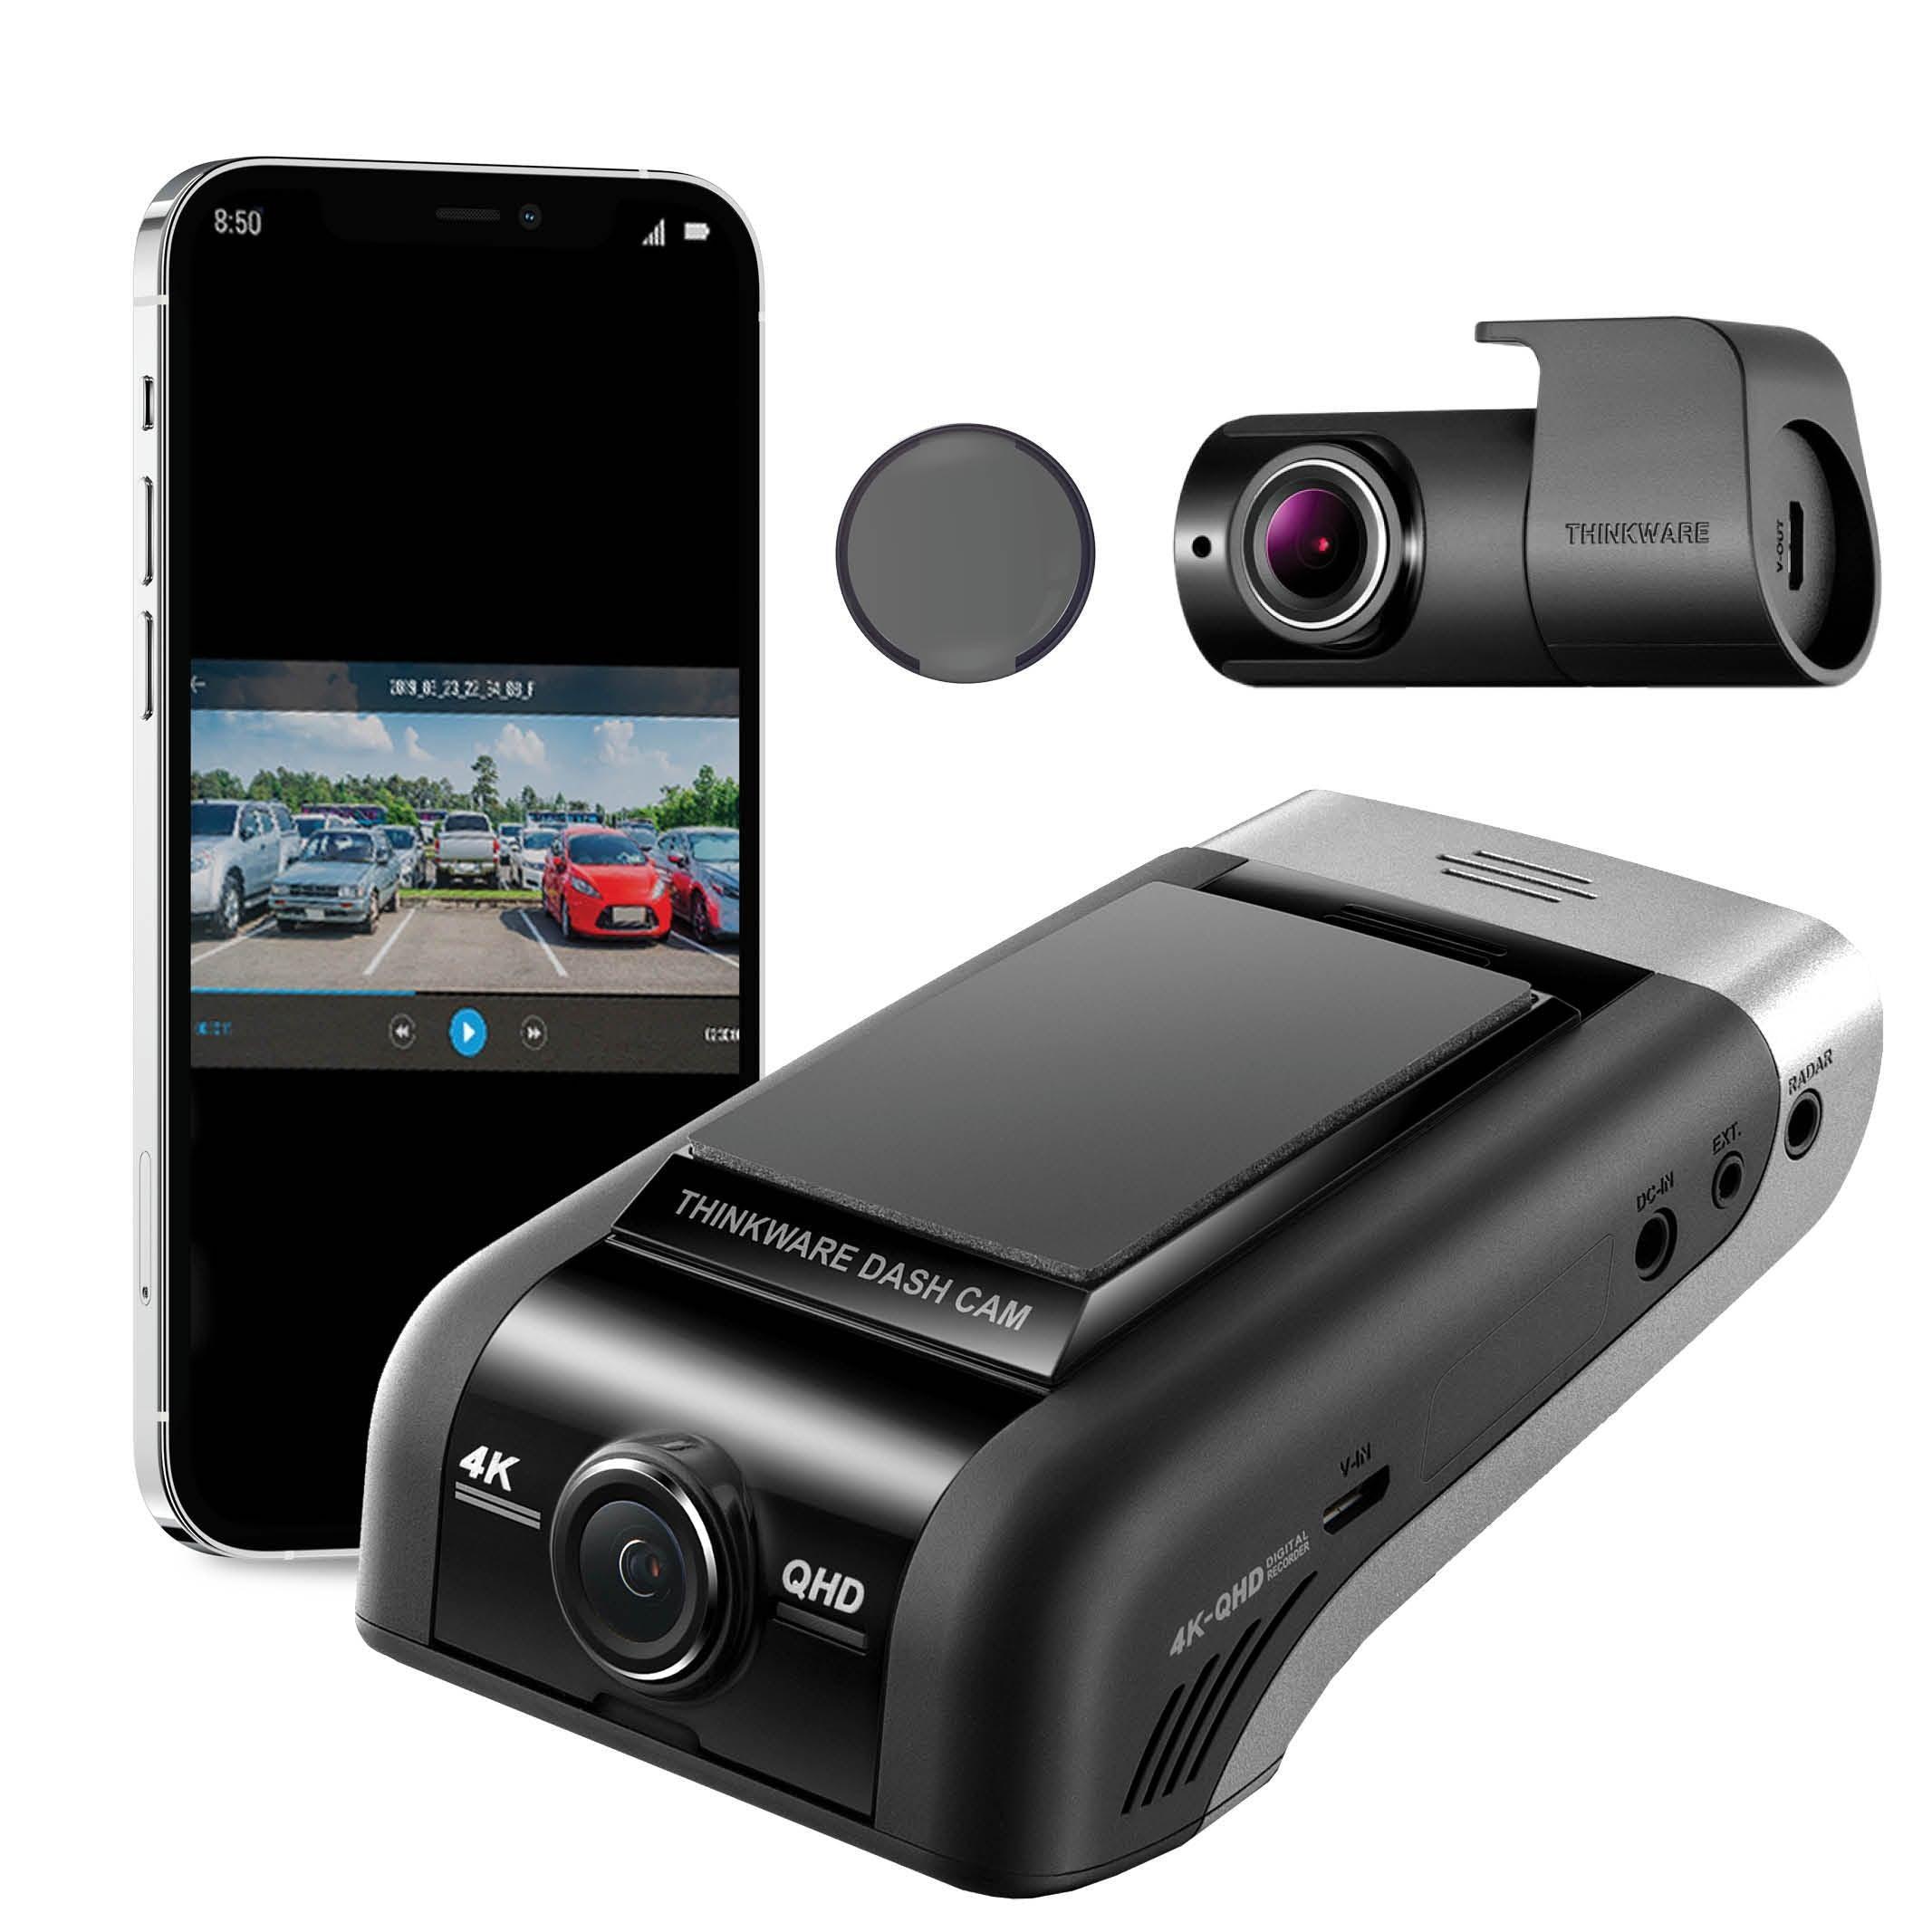
The Thinkware Cloud App is a dedicated smartphone app for the Thinkware U1000. Available in Google Play and App Store, this app allows you to enjoy Cloud features, review dash cam files, configure dash cam settings, view dash cam info and manage connection settings right at your fingertips.

In this article, we will guide you through its dedicated app and show you how to connect and maximize its settings for your dash cam’s optimal performance.

While this guide is aimed at the Thinkware U1000, the connection process to the Thinkware mobile app and settings are also fully applicable to the F200 , FA200, F800, F800Pro, Q800PRO, and QA100 ELITE.


How to Install the Thinkware Cloud App

To begin, you need to download and install the Thinkware Cloud app on your smartphone. Again, the app is available for both iOS and Android devices. Simply search for the "Thinkware Cloud" app and follow the on-screen instructions to install it.

Navigating through the Thinkware Cloud App

Once installed, you can now launch the app on your smartphone.

Before you can fully use the smartphone app, you need to connect your Thinkware U1000 to it first. Make sure that the Wi-Fi is turned on so you can pair the dash cam and app together. Press the wifi button on the U1000’s wifi, and its wifi LED will also begin to blink Green. Once connected, that’s when you get to access the Thinkware Cloud menu buttons like Live View (on the topmost part), File List, Dash Cam Settings, Dash Cam Info, and Connection Settings.

At the bottom of the screen, you will also see three icons. The video camera icon leads you to the home screen, the network connectivity icon in the middle is for the Cloud, and the icon with three dots is for your app info and support.

Thinkware Cloud App Menu

The Thinkware Cloud menu can be accessed when the video icon at the bottom left of the screen is tapped. As mentioned, it covers Live View, File List, Dash Cam Settings, Dash Cam Info, and Connection Settings.

Live View

At the topmost part of the home screen, you can see the Live View button. We always recommend checking the live-view of your dash cam first when setting it up. The Live View option allows you to see what Thinkware U1000 is viewing. If you have the dual-channel version, you can switch between both front and rear views. And if you intend to employ the ADAS capabilities, there are also recommendations for how the camera should be aligned with the hood's edge. This also shows the time zone setting of your dash cam.

File List

When you click on the File List, you will be led to a new page that shows the recorded footage of your Thinkware dash cam based on the recording mode. Tap it and it will show 7 sub menus – Continuous, Continuous Incident, Motion Detection, Parking Incident, Manual Recording, SOS Recording, and finally, the Downloaded Videos. From here, all files will be neatly organised into their respective category, marked as F for front, R for rear, from most recent recorded to oldest.

Dash Cam Settings

Next, if you click Dash Cam Settings, you will be able to adjust the features and settings of your dash cam. Once you click this, you will be led to a list of sub menus including Memory Card Settings, Camera Settings, Record Settings, Road Safety Settings, and System Settings. Here, you can modify video resolution, adjust audio recording preferences, enable or disable parking mode, and customize sensitivity levels for impact detection, motion detection and even Advanced Driver Assist Systems.

Configuring the Dash Cam Settings

Earlier, we mentioned that you can access the settings by clicking the ‘Dash Cam Settings’ button on the center home screen. Once you click this, you will be led to a list of sub menus including Memory Card Settings, Camera Settings, Record Settings, Road Safety Settings, and System Settings. Let’s dive in.

Check out our recommended settings for the Thinkware U3000 here. [embed when published on Shogun]

Memory Card Settings

One of the unique features that Thinkware has is Memory Partitioning – this setting allows you to prioritize specific file types depending on your preference, storing more of that type of video on the SD card.

It also has an “Overwrite Video” allowing you to grant or remove the camera the ability to overwrite videos of specific types. You have to be careful with this setting, because once you disable any folder from Overwriting, the MicroSD Card will eventually become full and the dash cam will be unable to continue to record. Once this happens, an "Insufficient Storage, Format the SD Card" notification will pop up.

Once this happens, you will have to format the MicroSD or erase the files manually for the dash cam to resume recording. Do note that the Continuous Recording Files will always overwrite, so it's greyed out on the list. If you need to reformat your microSD card, you can do so by just tapping the Format button on this screen.

Camera Settings

In the camera settings, you can adjust the video brightness and rotate the rear camera if you accidentally installed it upside down. The brightness can be adjusted independently but this setting will affect the brightness during day and night situations. The super night vision 2.0 feature can be set up in the record settings menu which will also have an effect on the image quality.

Record Settings

Next is the record settings. Again, if you intend to use parking mode of your Thinkware dash cam, you must enable it here. You may also change the timing and voltage cutoff parameters from here, for parking mode. The "wintertime battery protection" option raises the cutoff voltage by 0.2 volts in colder months, when batteries are weaker. This is only required if you live in a colder climate where temperatures fall below freezing. Moreover, the 24V cutoff setting is only for commercial vehicle applications and has no effect on standard 12V vehicles.

On the same screen, you can also adjust your sensitivity options. The G-sensor sensitivity is split into two modes: continuous and parking.

For sensitivity, we recommend lowering the continuous mode level because a high sensitivity will likely cause many false alarms. . Parking mode parameters can be adjusted or decreased to suit your needs. We don’t recommend lowering it too low because SMALL parking bumps should be recorded as well.

System Settings

Just like other dash cam settings, the system settings of the Thinkware Cloud are fairly straight forward. You can turn your speed display off here and change the speed unit as well. If you are unsure of what time zone [embed time zone article] you're in, simply look up your city and time zone in a search engine and you should be able to find the correct GMT setting.

Here you can make the camera less talkative with the Volume setting, and disable the security LEDs on the front and rear cameras, which turn on when parking recording is triggered. You can also turn off speed stamp data here as well.

Road Safety Settings

Now let’s move on to road safety. One of the reasons why we love Thinkware dash cams is because of its ADAS functions and Safety Camera alerts that can be configured in the road safety settings.

Here, you can enable and disable individual functions, as well as control how quickly they activate. To prevent false alerts while driving around town, we like to configure the lane departure warning so that it only activates at highway speeds. The vehicle type selection pertains to your car's height, with "sedan" being the lowest.

Pro tip: Ensure the firmware of your camera is up to date to ensure accurate Safety camera alerts.

Dash Cam Info

Back to the home screen, the icon beneath the File List is the Dash Cam Info. This shows the model name, the dash cam name(which can be changed), the memory size, and even the GPS information. Here, you can also contact the Thinkware Support and check the app/camera’s firmware version.

Connection Settings

Lastly, there’s the Connection Settings. Here, you can see the list of the hotspot devices that the camera has saved in the Wi-Fi settings, making it easier for you to reconnect. You can also change your wifi password of the camera here, and alter hotspot connection.

Pairing your Thinkware U1000 dash cam to a wifi source

Now that we have shown you our recommendations for the Thinkware U1000 app settings, we will also show you how to pair the Thinkware U1000 dash cam. With the above steps, the standard connection of the camera is finished, this is purely for users looking to use the cloud feature. To use the cloud, you will need to link your camera to your Thinkware Cloud account. Details on this process can be found here.

To complete the pairing process, you must use a Smartphone’s Hotspot first, afterwards, you will then be able to connect to a Hotspot Device/In-Vehicle WiFi. This process must be done exactly, otherwise, you will need to restart from step 1.

  1. Write Down your smartphone's SSID (username) and Password for your Hotspot. Ensure Hotspot has been turned on.

  2. Open the Thinkware Cloud App and press the "Not Connected" Bar on the Main Screen. (May also say "Dash Cam Connection is required")

  3. Select Connect with another Device, then select your Dash Cam model.

  4. Select Connect via Hotspot

  5. Select Yes, this is your first time connecting to register the Hotspot.

  6. First, activate the Dash Cams WiFi by pressing the WiFi Button on the Dash Cam itself and connect to the Thinkware WiFi Network.

  7. Once your smartphone is connected to the Thinkware WiFi, press Next and enter your hotspots SSID and Password. **This must be entered exactly. The Dash Cam is case sensitive.

  8. Select Next. The Dash Cam will now disconnect from WiFi and begin looking for a Hotspot.

  9. Stay out of the Thinkware Cloud app and wait a few minutes for it to pair. If you re-enter the Thinkware Cloud App before the Hotspot Connects you will need to restart from step 1. The wifi symbol on the camera should be flashing blue.

  10. Once you hear the Dash Cam say "Connected to the Internet" you can then open the Thinkware Cloud App. The wifi symbol on the camera should be solid blue.

Navigating Through Thinkware Cloud Connectivity

Going back to the home screen of the Thinkware Cloud app, the icon at the bottom center most part of the screen showing multiple circles with an arrow going through it will take you to the cloud.

Here, you can access the Thinkware U1000’s Clou. This can provide critical information on the status and whereabouts of your vehicle directly to your iOS/Android smartphone.

Thinkware Cloud Features of the U1000 Dash Cam

Strong Impact Notifications

If a severe impact such as a crash is detected, a notification is immediately sent to your smartphone by the Thinkware Cloud mobile app and a 20-second clip of the footage (10 seconds prior and 10 seconds after) will be uploaded to the Thinkware Cloud server. This feature is to aid the driver to notify others in an emergency situation.

Impact Notification While Parked

Through this feature, you will receive an alert when a strong impact is detected during Parking Surveillance mode, and check remotely the 20 second incident video file via cloud using the app. The dash cam must have Parking Surveillance mode enabled and be connected to a mobile hotspot.

Remote Live View

Here, you can watch what is happening in real-time and remotely monitor your vehicle on your mobile device. Remote Live View can be used for up to 300 minutes per month and will reset on the 1st day of each month. THINKWARE CLOUD uses your smartphone’s data connection to send and receive notifications.

Location

You can also locate vehicles that will help drivers, parents, or fleet managers to find a vehicle’s current location using the THINKWARE CLOUD mobile app. Captured by your Thinkware Dash Cam's built-in GPS antenna, the vehicle's location, speed, and direction of travel is shown in the mobile app on a Google Maps display. Note that GPS data refreshes every 10 seconds on the app.

Geo Fencing

Best for fleet managers, the Geo Fencing feature provides the vehicles’ comings and goings. Your Thinkware Cloud-connected Dash Cam will send a push notification through the THINKWARE CLOUD mobile app if a vehicle enters or exits a pre-selected geographic zone.

The radius of the zone can be set easily by simply tapping on the Google Maps display and selecting the desired radius, from 60ft all the way up to 375 mi. Moreover, users can set up to 20 different geo-fences.

Stay connected anytime, anywhere with the Thinkware U1000’s Cloud and App features!

The Thinkware Cloud App of the Thinkware U1000 keeps you informed about your vehicles and allows you to receive notifications directly on your compatible iOS or Android smartphone via Wi-Fi or Hotspot. Want the best of U1000? Grab our exclusive Signature Bundle now only here at BlackboxMyCar!

Thinkware Q1000 2K QHD Dual Channel Dash Cam - Dash Cams - Thinkware Q1000 2K QHD Dual Channel Dash Cam - 128GB, 2-Channel, 2K QHD @ 30 FPS, ADAS, Adhesive Mount, App Compatible, Bluetooth, Camera Alerts, Cloud, Desktop Viewer, G-Sensor, GPS, Hardwire Install, Loop Recording, Mobile App, Mobile App Viewer, Night Vision, Parking Mode, Rear Camera, sale, Security, South Korea, Super Capacitor, Voice Alerts, Wi-Fi - BlackboxMyCar