Skip to content

Static Stickers - What Do They Do?

Have you ever unmounted your dash cam from your windshield and noticed an annoying residue or marks from the adhesive? If you often change dash cams from one car to another – such as ride-sharing vehicles, rental cars, or fleets, making sure that your quick swaps are neat and aesthetically pleasing is something that could lessen distraction when you drive.

One solution to this is the electrostatic windshield stickers, which dash cam manufacturers have added, like VIOFO. In this article, we will discuss what a static sticker is, and provide tips on maximizing its usage.

What are Static Stickers for Dash Cams?

A static sticker, also known as a static cling sticker, is a form of sticker that adheres to surfaces using static electricity rather than adhesive. It is often composed of a thin, flexible vinyl or plastic material that may stick to smooth surfaces such as glass, metal, or plastic.

For VIOFO dash cams, when using the static sticker, it works as a barrier between the 3M adhesive tape and the glass, preventing sticky residue and marks if the dash cam needs to be removed. 

How does it differ from adhesive stickers?

Adhesive stickers or decals have a sticky, adhesive backing that attaches to surfaces. Meanwhile, static stickers are not adhesive, but use static electricity instead for it to attach to surfaces like windshields. When you switch your camera for a better recording angle or swap to another vehicle, the static sticker will prevent surface damage, residual marks, and cleaning issues.


How do I Install the Static Stickers?

1. Clean the Windshield

Start by thoroughly cleaning the inside of your windshield using a glass cleaner or mild detergent. Ensure that the chosen area is free from dust, fingerprints, or any debris. Wipe it dry with a microfibre towel.

Note: Before applying the sticker, try warming the glass with a hair dryer to ensure it is completely dry. Also, ensure the glass is clean; do not use polish; stickers will not stick to polish.

2. Choose the Location

Select a suitable spot on the windshield, ideally near the rearview mirror, to mount the dashcam. This location should offer an unobstructed view of the road ahead and be within the windshield wiper's sweeping range for clear visibility on rainy days. Hold the dashcam against the windshield, considering its field of view, and adjust its position accordingly.

3. Apply the Sticker

Next, peel off the red protective film from the static sticker, align it with the mounting point on the windshield, and carefully press it against the glass to ensure a secure attachment. We recommend using the BlackboxMyCar Vinyl Scraper to ensure the surface is neat and bubble-free. Slowly peel back the second protective film on the interior side.

4. Attach the Camera

Peel off the red protective film from the adhesive mount of the dash cam, and press the dash cam’s adhesive mount to the static sticker. Press the camera body firmly against the sticker for about 30 seconds to ensure a secure attachment. Once the dashcam is attached, adjust its angle or rotation as needed to achieve the desired view.

5. Test the Installation

Finally, turn on the dash camera and check if it's properly installed. Ensure that the view is clear and unobstructed.


Get a VIOFO Dash Cam now

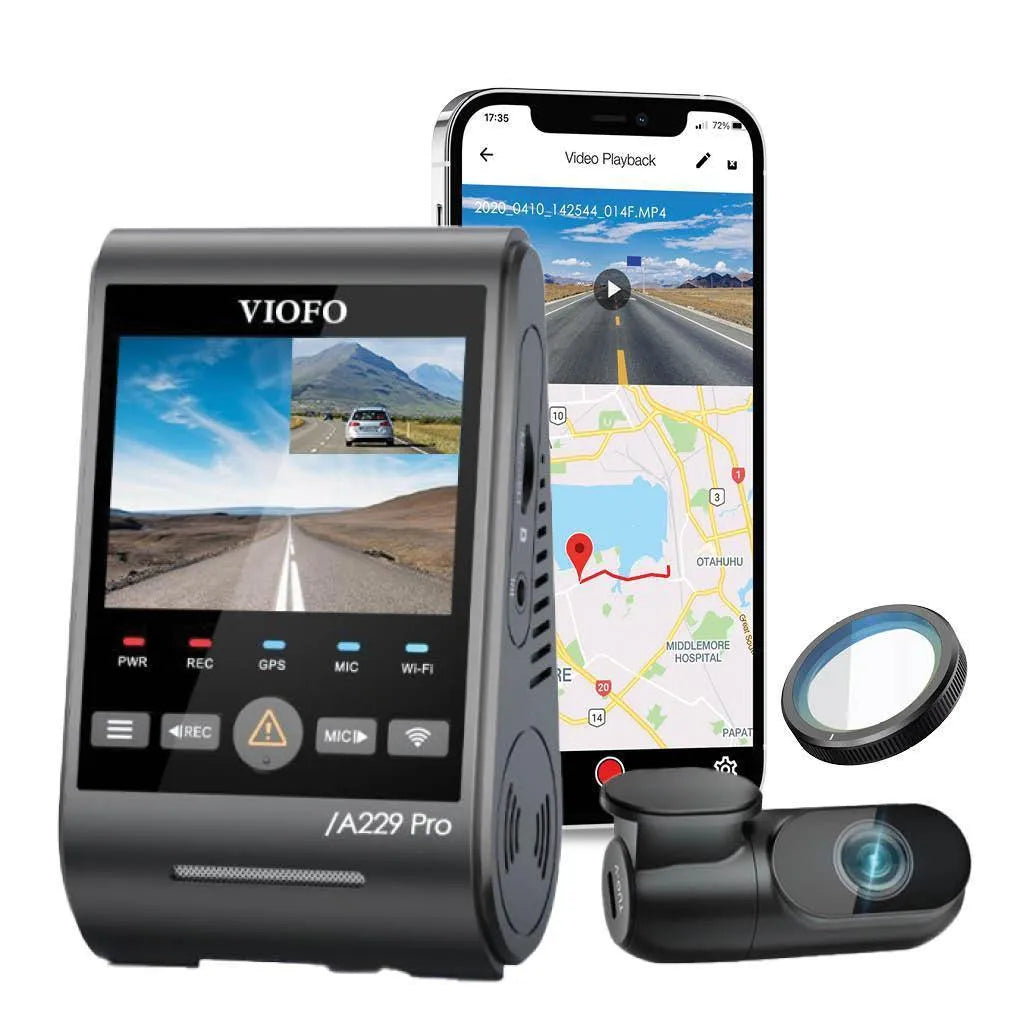
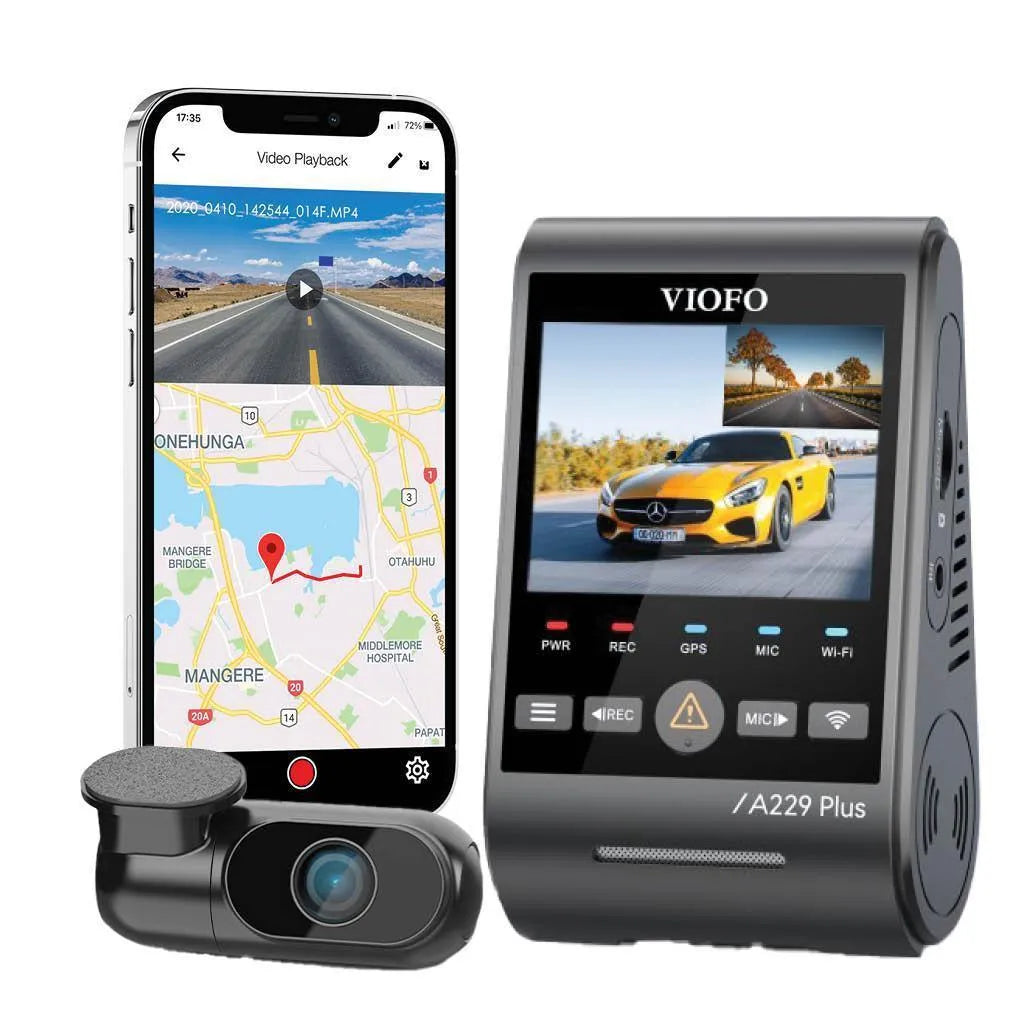
The VIOFO Static Stickers are available when you purchase a VIOFO A119 Mini 2, VIOFO A229 Pro, A229 Plus and other models. Get yours now, here at BlackboxMyCar!

Our Recommendations

VIOFO A119 Mini 2 2K QHD Dash Cam

Sold out

VIOFO A229 Pro Duo 4K UHD 2-Channel Dash Cam

Sold out

VIOFO A229 Plus Duo 2K QHD 2-Channel Dash Cam

Sold out